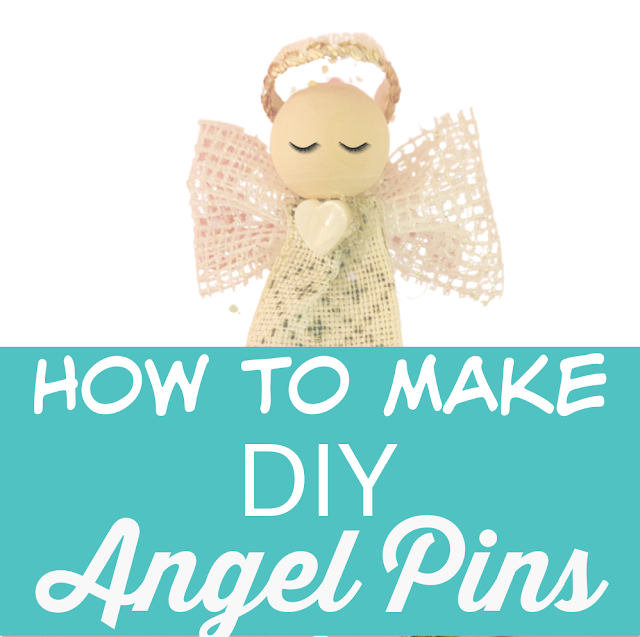
How to DIY angel ornaments and tiny angel pins.
I've been making angel ornaments this past month and I always like to make a miniature version of everything I make. I wanted to make a tiny angel ornament. Then I thought... it's so tiny it could be used as a pin. Do you remember when everyone wore pins, all kinds of pins?
I had a crow pin since I love crows but I also had a daisy pin and a wolf pin and several others and, you know what, I think it's time to start wearing pins again so I'll be the first, I guess. Someone has to start. Lol.
I've been making angel ornaments this past month and I always like to make a miniature version of everything I make so I wanted to make a tiny angel ornament. Then I thought... it's so tiny it could be used as a pin. Do you remember when everyone wore pins, all kinds of pins.
I had a crow pin since I love crows but I also had a daisy pin and a wolf pin and several others and, you know what, I think it's time to start wearing pins again so I'll be the first, I guess. Someone has to start. Lol.
Here are the angel ornaments:
Isn't this ribbon beautiful? It's so perfect for the angel ornaments. The wing ribbon is great, too, because it's kinda see-through.
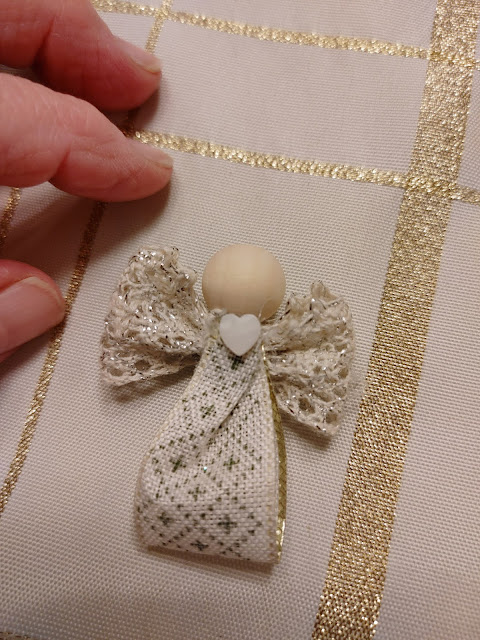
Here's the tiny version........
This one still needs her halo.
1. For the body of the angel cut a 3/4" wide ribbon 2 1/2 inches long and fold in half. Crimp it together a little at the top raw edge and hot glue it together. See illustration.
2. For the wings, cut a different 3/4" wide ribbon about 3 inches long. Fold it over itself so that the raw edges are in the back and the 2 wings have 2 layers of ribbon. The ribbon for the wings could be something like lace which is see-through or a little holiday type ribbon that's sparkly like the one I used. Once you have the wings folded over with the raw edges in the back, pinch the middle together and add some hot glue. This could hurt the fingers a little because of the hot glue. Lol
3. Glue the wings to the upper back of the angel body. Glue on small wooden bead for head.
4. For the halo I cut the edge off of a glittery ribbon with wire.
5. Make a circle with the "halo" and glue to the back of the angel so that the halo comes over the top of the head. See illustration.
6. I glued a tiny heart bead onto the front of the angel. Glue on a pin back which you can get from Amazon or Hobby Lobby, Michael's, etc.
For the large angel ornament, use larger ribbon and do the same process. Fini.
Hope you are inspired. These are really fun to make. I keep looking at different ribbons and thinking, 'what would an angel look like made from this ribbon'? I'm also looking at even larger ribbon to see how they might come out. The excitement of making something can be exhilarating.
You may have everything you need in your stash right now. Go enjoy. Create.
Best Christmas blessings to you and yours,


So Cute! Merry Christmas
ReplyDelete